Cable Twist Headband Free Crochet Pattern
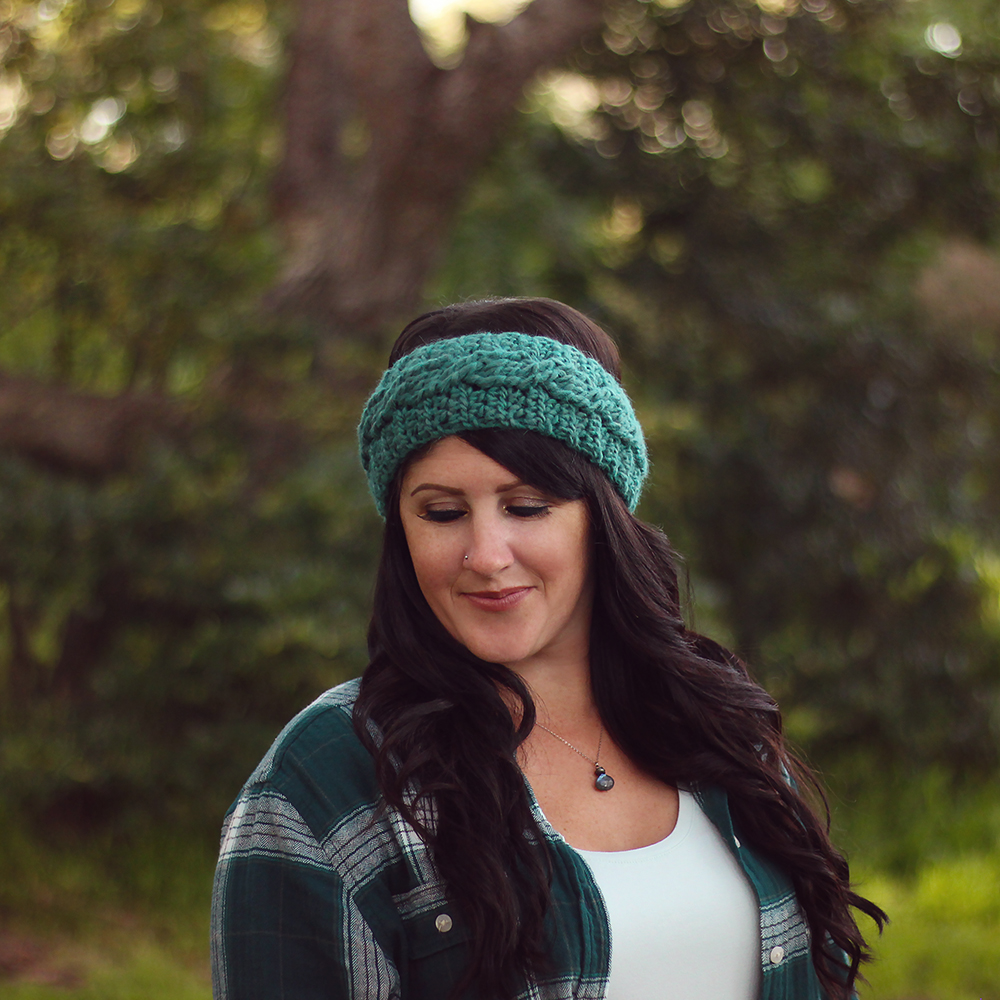
I don’t know about you, but when I was learning to crochet, I saw cables as more of an advanced technique and was definitely intimidated to try them. Truth is, they really don’t have to be all that complicated.
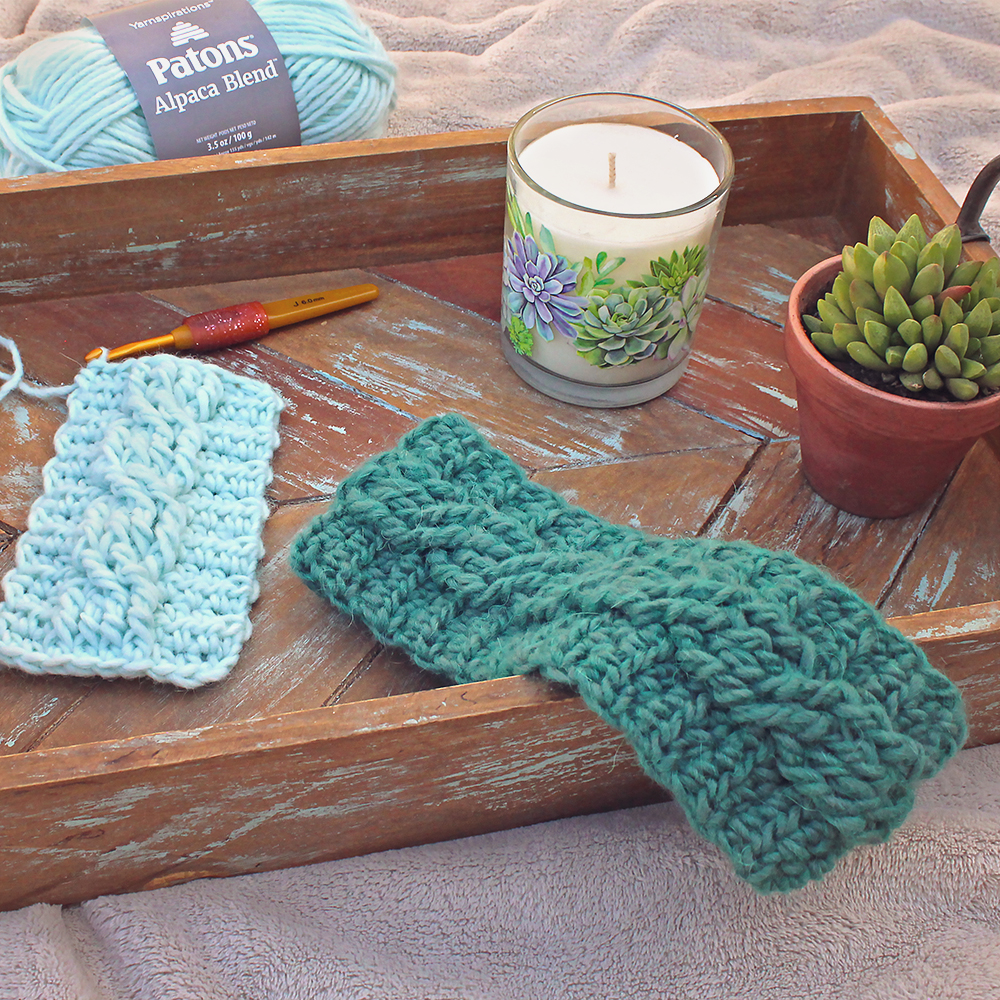
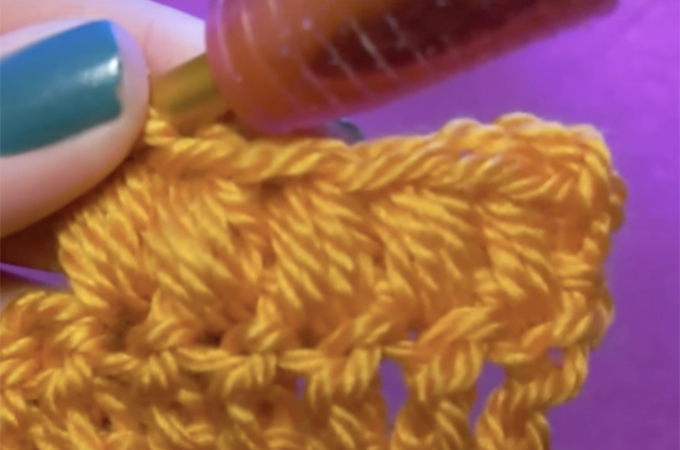
I created this headband using what I would consider, one of the easiest crochet cable stitches possible! I’m confident that if you know how to do front post stitches, you can handle this cable pattern!
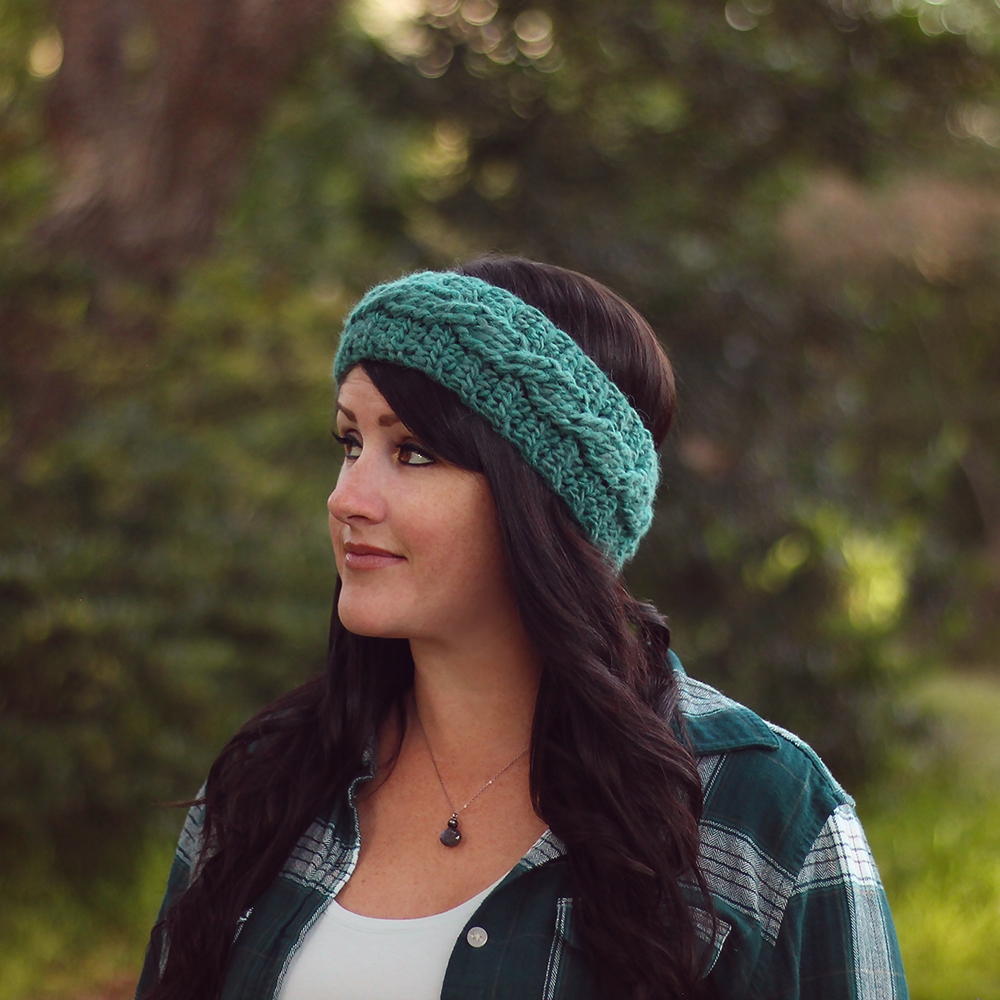
And if you’ve never tried crocheting cables before, this is the perfect project to start with! This headband features a simple cable twist design and uses a bulky weight yarn, so it will keep your ears toasty on chilly days!
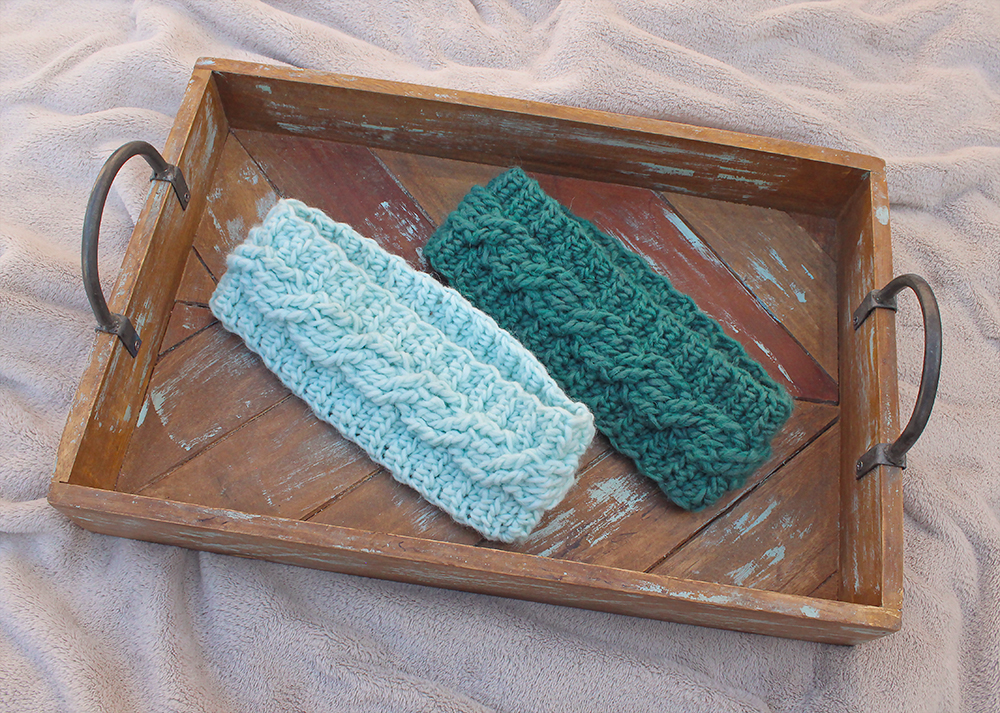
I’m excited to be able to release this pattern just in time for the holiday season because if you need a last minute Christmas gift for someone, how perfect would something like this be?! :)
Download the Pattern
You can find the FREE pattern by scrolling down. A convenient, print friendly, ad free PDF of this pattern is also available for a small fee, if you’d like.
>> Click here to get the PDF on ETSY <<
>> Click here to get the PDF on RAVELRY <<
Yarn
Patons Alpaca Blend, #5 bulky weight yarn: 65 yards of #1007 Lagoon (darker blue/green) or #1010 Iceberg (light blue)
Materials
US Size J/10 (6mm) crochet hook or size needed to obtain gauge, yarn needle, scissors
Difficulty
Easy
Finished Measurements
Circumference: 20”, Width: 3 1/2”
Gauge
10 sts and 8 rows of pattern = 3 1/2”
Abbreviations
ch(s) – chain(s), hdc – half double crochet, FPtr – front post treble crochet, st(s) – stitch(es), RS – right side
Special Stitches
Front Post Treble Crochet (FPtr) – Yarn over twice and insert hook behind stitch, yarn over and draw up a loop, [yarn over and draw through two loops] three times.
Notes
- Headband is worked flat, in rows, and then stitched together at the ends.
- Ch 1 in beginning of rows always counts as 1 hdc.
Instructions:
Row 1 (RS): Ch 11 (2 count as 1 hdc), 1 hdc in 3rd ch from hook and in each ch across – 10 hdc.
Row 2: Ch 1 (counts as 1 hdc now & through out) & turn, 1 hdc in each st across – 10 hdc.
Row 3: Ch 1 & turn, 1 hdc in each of the next 2 sts, 1 FPtr in each of the next 4 sts 2 rows below, 1 hdc in each of the next 3 sts – 6 hdc + 4 FPtr.
Row 4: Ch 1 & turn, 1 hdc in each st across – 10 hdc.
Row 5: Ch 1 & turn, 1 hdc in each of the next 2 sts, skip 2 sts, 1 FPtr in each of the next 2 sts 2 rows below, 1 FPtr in each of the 2 skipped sts 2 rows below, 1 hdc in each of the next 3 sts – 6 hdc + 4 FPtr.
Row 6: Ch 1 & turn, 1 hdc in each st across – 10 hdc.
Row 7:Ch 1 & turn, 1 hdc in each of the next 2 sts, 1 FPtr in each of the next 4 sts 2 rows below, 1 hdc in each of the next 3 sts – 6 hdc + 4 FPtr.
Row 8-47:Repeat rows 4-7
Row 48-49:Repeat rows 4-5
Cut yarn leaving a long tail. Using your yarn needle and the tail, stitch final row to beginning chain to form a band and fasten off.
Show Your Support
If you use this free pattern, please consider supporting me by purchasing a pattern from my shop. Your support will help ensure that I’m able to continue making new patterns to share. Thanks for considering! :)
Terms of Use
You are welcome and encouraged to sell any items you make using this pattern! All I ask in return is that when selling online, please credit Julie King / Gleeful Things & provide a link to www.gleefulthings.com.
You may NOT sell the pattern, distribute it in any form, repost it online, or alter it to claim it as your own. Copyright © 2018 Julie King / Gleeful Things. All Rights Reserved.
VIDEO INSTRUCTIONS
Watch the video tutorial below or on YouTube and let me show you how to make this headband!


Happy birthday to a beautiful, talented person! I hope your day was as fabulous as you are.