The Tie Dye Experiment
Confession: I am terrible about holding onto craft supplies forever because I’m afraid of them being wasted on a project gone wrong.
I guess it’s understandable if it’s something like one of a kind, hand dyed yarn that I couldn’t repurchase. But not for a tie dye kit that is always plentiful at any craft store! I’ve had these kits for like a year and couldn’t get up the guts to just go for it. Ridiculous right?! I’m glad I finally went for it because it was a learning experience and lots of fun!
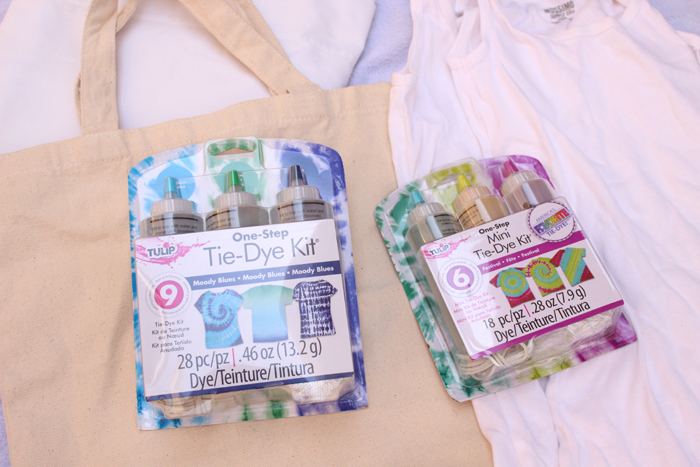
I used the Tulip One Step Tie Dye Kit in Moody Blues and a mini kit in Festival. I dyed a queen size polyester sheet, a blank cotton tote bag and two cotton/spandex tank tops from Target.
The kits came with a handy instruction sheet that showed how to do different tie dye styles. I kept it basic and went with stripes and swirls.
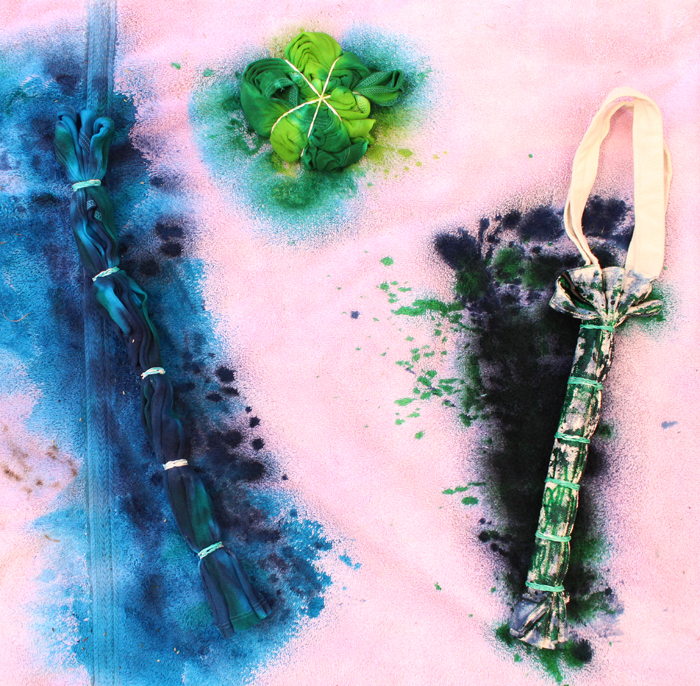
I stared at everything for a while as I tried to plan out in my head, which colors I’d use for what. The bag was my main priority because I really need a new tote. I decided to dye it first, solid dark blue, just to see how far the dye would go. To my surprise, the bag seemed to be water resistant! I squirted the dye onto it and it would basically just roll off. What the heck?!
So after that, I just kinda gave up on my plans and winged it with everything else. I used the remainder of the dark blue on one of my shirts, then filled it in with turquoise and later squirted on some teal randomly. It seemed to require a lot of dye, which made me think there was no chance I’d have enough to do the sheet.
But I remembered seeing tutorials where people wet their items before applying dye. I tried that with my other shirt, which I had rolled into a spiral design. As I squirted on dark green and lime dye, I realized getting it wet really helped the dye spread easier, which saved me from using as much. Looking at the three items on my towel, I was thinking “well, at least that one will come out good!”.
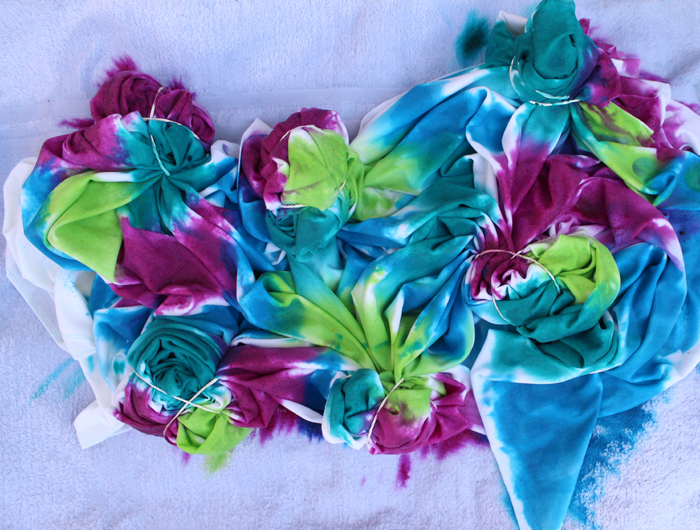
I moved on to the sheet and used my entire mini dye kit on it plus some of the turquoise I had left over. It looked good but I was afraid of how bright the colors looked. I used a polyester sheet intentionally because I read that it wouldn’t take the dye as well as cotton, which would result it the colors being sorta pastel. I had the idea to use this as a photo/video backdrop so I really wanted something more muted.
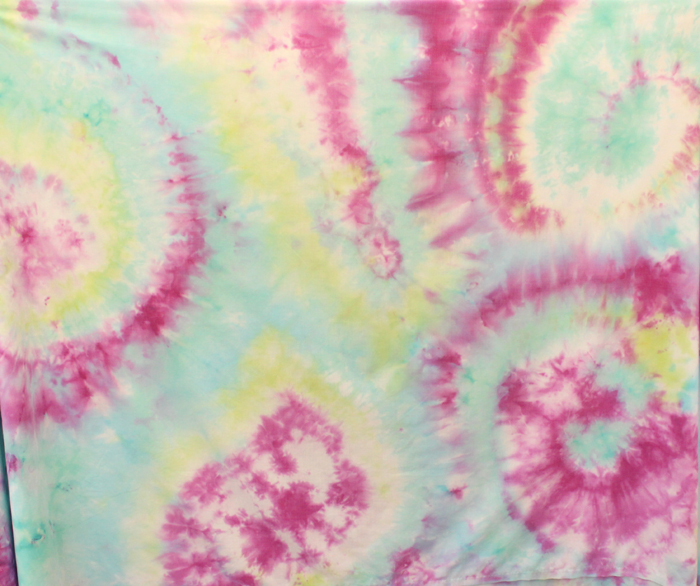
The anticipation drove me crazy as I waited over night so I could open everything up and wash it!
I was so thrilled! The sheet came out perfect! The colors were muted, just how I wanted!
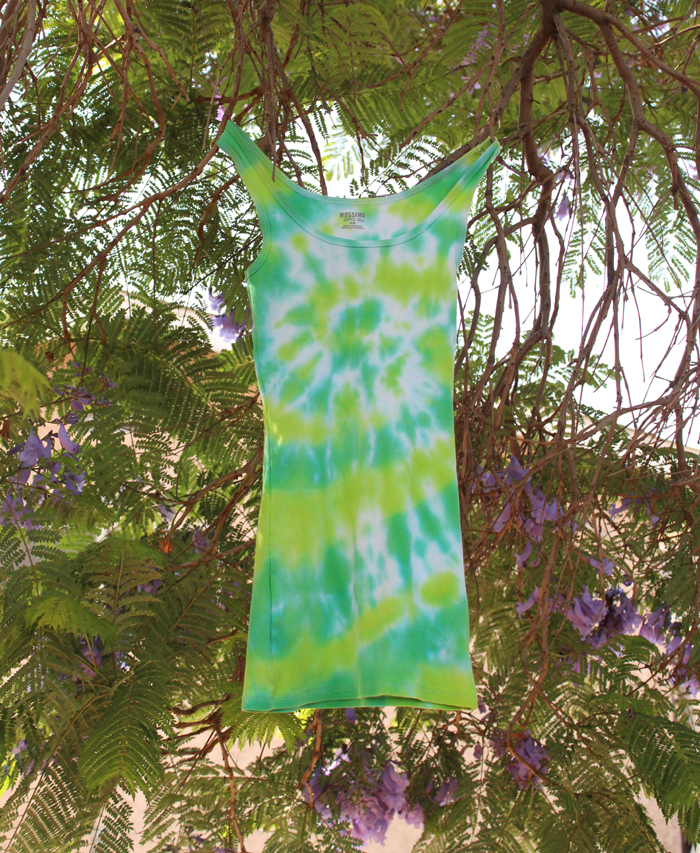
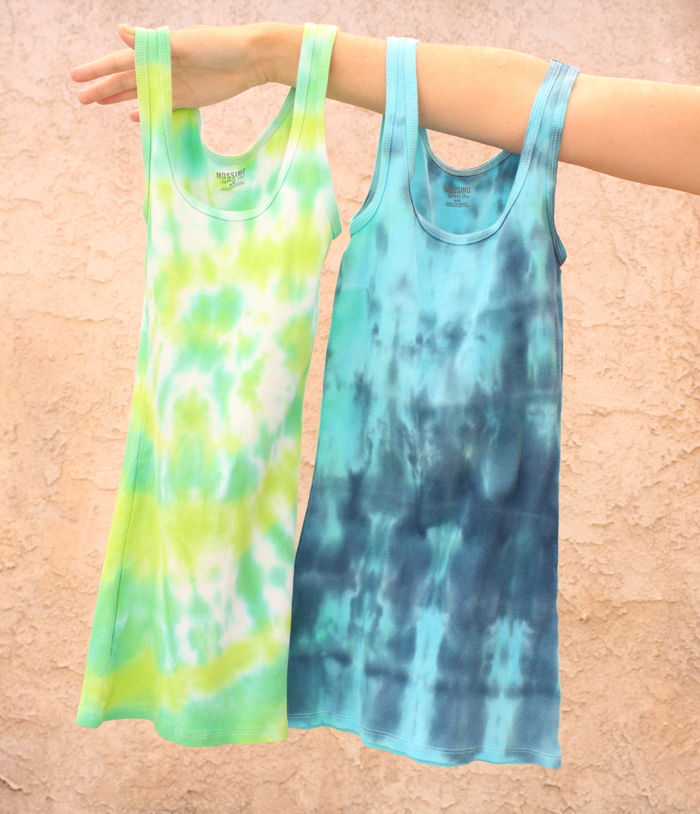
The green tank top was a success, as I suspected it would be, but with a little more white that I was expecting. I kinda wish I had used more dark green, rather than wasting it on the bag that wasn’t even absorbing it anyway. But I also love the shirt just as it is!
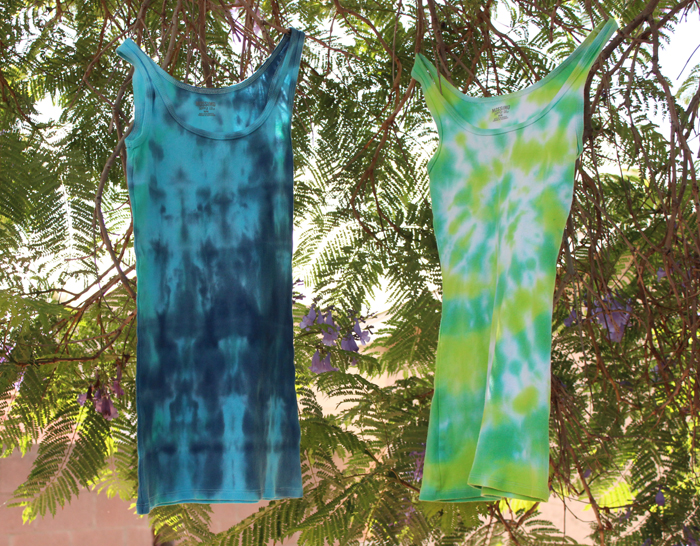
The blue tank looks a little messy but I still like it. I kinda wish I hadn’t squirted the teal on it because it really only showed in the armpit on that one side. I pretty much live in these tank tops when I’m bummin around the house or working out, so I’m looking forward to wearing them and know they’ll get plenty of use!
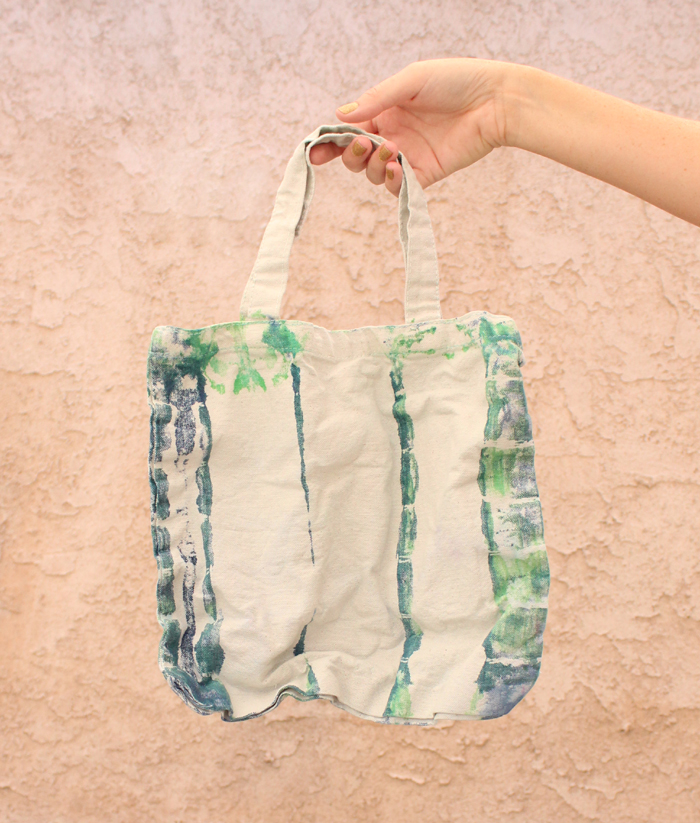
The tote bag was definitely a tie dye fail. I need ideas, what would you do with this? I’m gonna have to get extra crafty if I wanna save it!
I hope you enjoyed reading about my tie dye experience! I haven’t done tie dye since I was a kid so I had a lot of fun trying it again! I definitely want to buy more of those kits in the future!
Disclosure: This post contains affiliate links.
Great job on Tie Dye! We do a bit almost every summer. If you have a piece of fabric or a yarn motif, adding it to the un-dyed area of the tote would give you visual interest and an instant pocket.
Personally, I would do some yarn embroidery following the same basic pattern you were going for with the dye. Something distictly you and fun.
Your tote looks like it could benefit from a washing to remove the sizing that might be in it. Don’t use a drier sheet when drying it, it stops the dye from adhering. HTH, Lee
Do you mean wash before dying? I was also thinking that. Now I know for next time! :)
Yes, before dying the item.
Thanks for inspiring me to tie dye! I loved the way your sheet came out. After picking up a kit I searched goodwill and came home with a tank two pillowcases and a curtain. A couple of my friends came and joined in and it was a blast! Love your blog keep up the awesome posts
Hi there, just found your site in the wee sleepless hours of this morning, I love it. I dye a lot of fabric and have a few tips: 1. Wet your fabric first before you dye it, it helps absorb faster. 2. if the fabric is cotton add salt to the water before you mix with the dye, about a tablespoon for every quart. 3. If you want really vibrant colors soak your material in water with washing soda, no rinsing, wring out well and dye. Happy Dyeing!
Thank you for your tips! I’ll try this next time. I definitely like the way the dye spreads better on wet fabric.